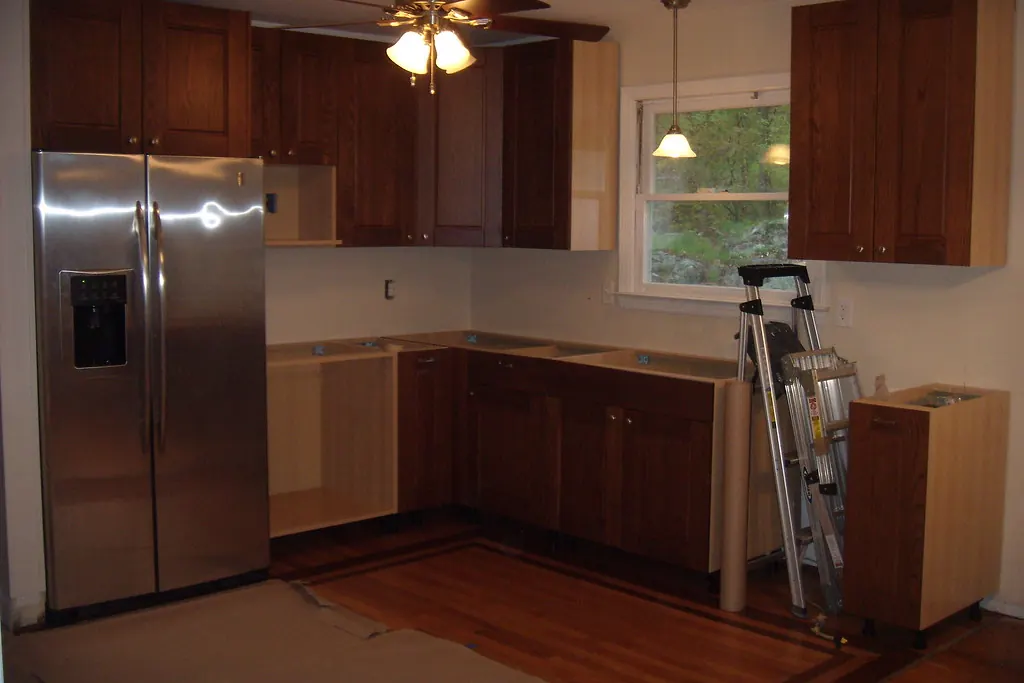
Installation is a service in its own right
A large share of the cabinet work in San Clemente is fitting cabinets somebody has already bought. Flat-pack and big-box packages arrive on a truck, get stacked in a garage, and then need somebody to put them on a wall properly. That is a legitimate and common job, and the published labour figures make it easy to budget for.
Installer labour runs about $50 to $70 per linear foot to install new kitchen cabinets on published national figures, with total installs ranging $482 to $2,167 and most people paying around $1,044, a low of $164 and a high of $6,187. Priced per cabinet instead, installation is roughly $100 per box. Removing the existing cabinets adds about $300. Those are labour numbers on supplied cabinetry, which is this service exactly.
| Line | Figure | Note |
|---|---|---|
| Installer labour | $50 to $70 per linear foot | The usual way a kitchen install is priced |
| Per cabinet box | About $100 | An alternative convention, worth checking which a quote uses |
| Typical total install | $482 to $2,167 | Most people around $1,044 |
| Extremes | $164 low, $6,187 high | Size and complexity, not geography |
| Removing old cabinets | About $300 | A separate line, frequently omitted from comparisons |
| Finished ends | $100 to $200 each | Adds up quickly on an island or a peninsula |
| Crown moulding | About $70 per 8 ft section | Priced by the section, not by the room |
All figures are national and updated July 2026. They are labour and component figures, not the cabinets themselves. No published source gives a San Clemente-only installation rate.
The three things that separate a good install from an adequate one
All three are invisible once the kitchen is finished, and all three are decisions made in the first hour on site.
One: level from the high point of the floor
Base cabinets are set from the highest point of the floor, not from the floor generally, and a level line is struck around the room from there. Every cabinet then rises to that line on packers. The alternative, setting each cabinet on the floor where it stands, produces a run that follows the floor, which in a house with any settlement means a countertop that is visibly not level and a dishwasher that does not sit under it properly.
This matters in San Clemente because of the age spread of the housing. The city was laid out in 1925 and incorporated on 27 February 1928, and its 26,647 housing units run from pre-war cottages through post-war tract construction to the newest Specific Plan areas. Older floors have moved, and hillside houses in Rancho San Clemente and Forster Ranch sit on ground that has had decades to settle.
Two: fix into structure
Wall cabinets hang on fixings into framing. Plasterboard fixings, however confident the packaging, are not what carries a loaded wall cabinet full of crockery over the years. Studs are located and marked before anything is lifted, and where a cabinet lands between them, blocking is added rather than a fixing being improvised.
The same applies to anything carrying serious weight elsewhere: a loaded wine rack is the heaviest thing per square foot in domestic cabinetry, and a closet hanging rail carrying a row of winter coats concentrates its load at two points.
Three: scribe on site
Fillers and end panels are cut on site to follow the wall, not ordered square and caulked. A scribed filler is tapered to match whatever the plaster is doing, so the joint is tight along its whole length. A square filler against a wall that is not straight leaves a wedge-shaped gap, and the usual response to that is a bead of caulk, which is visible forever.
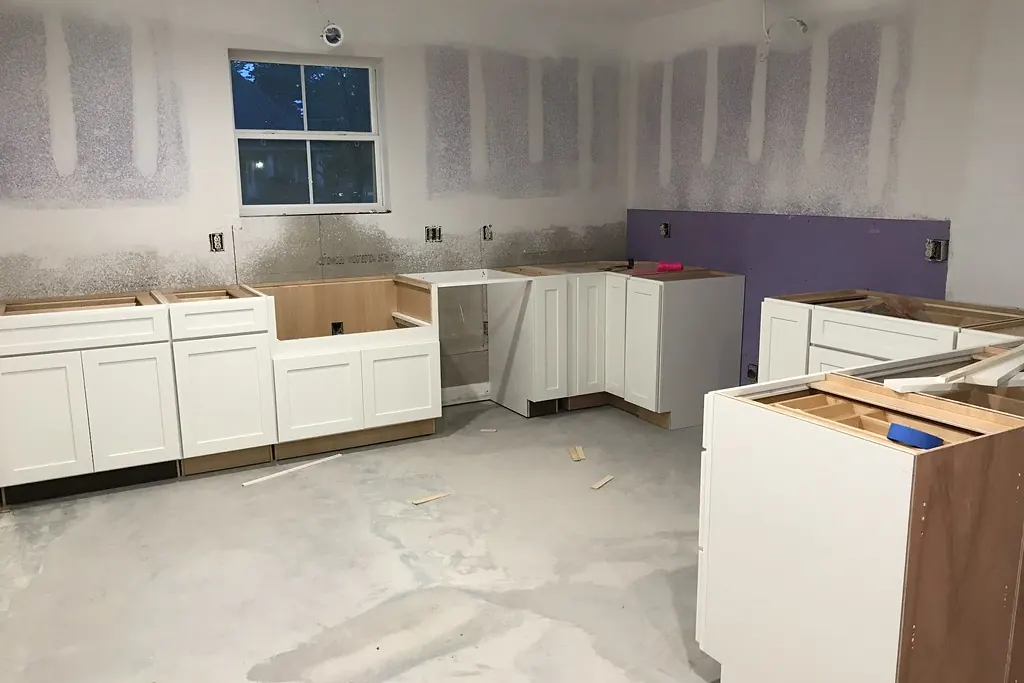
Fitting cabinets you already own
The practical differences when fitting a supplied package rather than a shop-built one are worth knowing in advance, because they are about logistics rather than skill.
Everything is checked before anything is hung. Flat-pack and big-box packages arrive as dozens of cartons, and a proportion of any large order contains a damaged panel, a missing hardware pack or a door in the wrong handing. Finding that on day zero means a replacement is on its way while work continues. Finding it on the last afternoon means the kitchen sits unfinished until a replacement arrives.
Fillers and scribes may need to be sourced. Supplied packages usually include filler strips in the same finish, but not always enough of them, and a house with genuinely out-of-true walls consumes more than the catalogue assumes. It is worth over-ordering fillers and end panels, because they are inexpensive and a matching one cannot be improvised.
Assembly time is separate from installation time. A flat-pack package has to be built before it can be hung, and that is real hours. Some quotes include it and some do not, so it is worth asking explicitly whether assembly is in the figure.
Appliance openings, and the specification trap
Cut appliance openings to the appliance, not to the catalogue, and confirm the actual model before anything is cut. This is the fault that produces the worst outcomes on an otherwise competent installation, because an opening that is a quarter of an inch too small is discovered at the moment the appliance is on a trolley in the hallway.
The usual causes are all boring and all avoidable. A nominal 30 inch range that is actually slightly wider across its handles or its side trim. A dishwasher whose published height excludes the adjustable feet at their minimum. A refrigerator that needs clearance at the back for a water line and at the hinge side for the door to open past ninety degrees. And integrated appliances, which are specified by their panel requirements rather than by their body dimensions and where the panel is part of the cabinet order.
The rule that follows is simple: the installer wants the model numbers, not the categories. If the appliances have not been bought yet, that is a real scheduling constraint rather than a detail, and it is better to say so early than to have openings cut against an assumption.
Toe kicks, plinths and the flooring sequence
Decide whether the flooring runs under the cabinets or stops at them before either is ordered, because the two decisions interact and only one order works. Flooring that runs wall to wall underneath the cabinets makes a future kitchen change simpler and costs more material. Flooring that stops at the cabinet line costs less and commits the room to that layout, because a later change leaves a strip of bare subfloor where a cabinet used to be.
Either is defensible. What is not defensible is discovering the question on install day, which typically happens when the flooring contractor and the cabinet fitter have each assumed the other was going first. It also affects heights: a cabinet run set on top of a finished floor sits higher than one set on the subfloor, which changes the relationship between the countertop and an under-counter appliance.
The toe kick itself is worth a word. A recessed toe kick is what lets somebody stand close to a counter without their toes hitting the cabinet, and its depth and height are a comfort detail that nobody notices until it is wrong. In a house with an uneven floor the toe kick is also where the levelling packers hide, which is another reason base cabinets are levelled first and the kick is fitted afterwards rather than arriving attached.
Where installation stops and permits start
The cabinetry is exempt from permit and the connections are not, and the City of San Clemente publishes both halves of that in the same ordinance. San Clemente Municipal Code 17.04.032, an amendment to Section 105.2 of the building code, exempts “Painting, papering, tiling, carpeting, cabinets, counter tops and similar finish work.” It then states: “Unless otherwise provided by this Code, separate plumbing, electrical and mechanical permits will be required for the above-exempted items.”
Its plumbing exemption covers only a “Repair or replacement of any plumbing fixture or appliance of the same type and size and in the same location,” with electric and fuel gas water heaters expressly excepted. So a sink that goes back where it was is generally within the exemption; a sink that moves into a new island is not, and neither is a new circuit for under-cabinet lighting or an appliance. The City has adopted the 2025 California Residential Code as SCMC 15.22, effective 1 January 2026. The permit and licensing guide sets out the whole list.
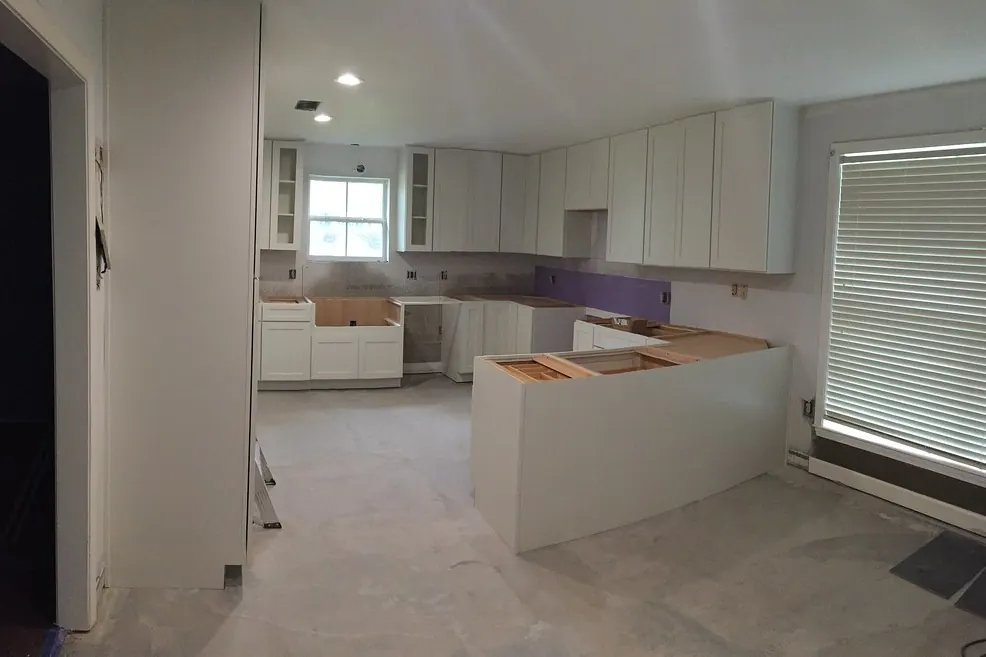
Published San Clemente installation figures
Beyond the national labour rates in section one, there is published San Clemente-specific installation cost data, and it is worth setting alongside them because the two describe different things.
| Figure | Amount | Scope |
|---|---|---|
| San Clemente typical range | $1,432 to $13,132 | Cabinet installation project, San Clemente cost source |
| San Clemente per cabinet | $150 to $500 per cabinet | Stated as excluding installation costs |
| San Clemente per linear foot | $150 to $380 per linear foot | Stated as labour for cabinets installed |
| National installer labour | $50 to $70 per linear foot | Labour only, updated July 2026 |
| National typical install total | $482 to $2,167, most around $1,044 | Labour, updated July 2026 |
| National per cabinet box | About $100 | Alternative pricing convention |
The San Clemente and national figures are not directly comparable: the local per-linear-foot number is materially higher than the national labour rate, which suggests it is describing supply and fit rather than labour alone. That ambiguity is exactly why a quote should state what is included rather than only a rate.
That gap between $50 to $70 and $150 to $380 per linear foot is instructive rather than contradictory. A labour-only figure and a supplied-and-fitted figure will always differ by roughly the cost of the cabinets, and neither source is wrong. What it means for you is that a per-foot number without a stated scope is not usable for comparison, and asking “does that include the cabinets” is the single most clarifying question available.
The permits that sit around an exempt installation
Fitting cabinets needs no building permit in San Clemente, and the City publishes both halves of that position in the same places. Its amended exempt-work list, San Clemente Municipal Code 17.04.032, names “Painting, papering, tiling, carpeting, cabinets, counter tops and similar finish work” as exempt, then closes with: “Unless otherwise provided by this Code, separate plumbing, electrical and mechanical permits will be required for the above-exempted items.”
The City’s BI-1 handout is more specific about appliances than the ordinance is, and an installer needs to know it because the sequencing depends on it. A plumbing permit covers “installing, removing, altering, repairing, or replacing any plumbing, gas or drainage system, or any fixture,” with water heaters, garbage disposals, dishwashers, tubs, sinks, toilets and showers named explicitly. An electrical permit covers “all work related to the electrical system,” including “All permanent wiring” and “replacement of built-in appliances,” while “No permits are needed for plug-in low voltage lighting.” A mechanical permit covers “installing, altering, repairing, or replacing the mechanical system,” naming “range hoods and mechanical exhaust fans, and dryer vents.” And a building permit covers “relocating walls and room partitions.”
Pre-1978 houses and the lead rule
San Clemente was incorporated on 27 February 1928 and a large share of its 26,647 housing units predates 1978, which makes the federal Renovation, Repair and Painting Rule a live question on installation work here rather than a theoretical one. It is administered directly by the EPA in California.
The rule requires that “Anyone who is paid to perform work that disturbs paint in housing and child-occupied facilities built before 1978 must be certified. This includes all firms, even sole proprietorships,” and it names carpentry, remodeling, plumbing, electrical work and painting preparation among the covered activities. Removing an old kitchen is demolition of painted surfaces, which the EPA states is “always covered regardless of square footage”, as is window replacement.
Where the exemption does apply, it is narrow: “Minor repair and maintenance activities that disturb six square feet or less of paint per room inside, or 20 square feet or less on the exterior.” The rule does not apply to housing built in 1978 or later, to zero-bedroom dwellings, to elderly or disabled housing without a resident under six, or to “Housing or components declared lead-free by a certified inspector or risk assessor.” On testing, the EPA lists EPA-recognised test kits for certified renovators, X-ray fluorescence instruments for certified inspectors or risk assessors, and paint chip sampling for any of the three.
For a homeowner the practical version is one question: if the house predates 1978 and an old kitchen is coming out, is the firm RRP certified? The answer should be immediate.
Cabinet quality, and what an installer can and cannot fix
An installation can only be as good as what arrives, and there is a published way to ask about that before anything is delivered. The Kitchen Cabinet Manufacturers Association’s ANSI/KCMA A161.1 certification covers “rigorous tests of their structural strength, drawer and door integrity, and finish durability,” with certified cabinets having “passed 14 rigorous tests, including a 600-pound load test, to simulate a lifetime of use.” The association reports that “Between 40% and 50% of cabinets fail their first certification attempt,” and notes that certification is “available at every price point, from builder-grade units to high-end, custom designs.”
What a good installer can fix on site: an out-of-true wall, an uneven floor, a filler that needs scribing, a door that needs adjusting, a run that needs joining and aligning. What no installer can fix: a carcass that arrived out of square, a door bored for the wrong hinge, a panel that has already swollen, or a package whose sizes do not suit the room. Those are supply problems, and the only defence against them is checking the delivery before the first box goes up.
Two code sections that decide where a run may not go
Two clauses in the code San Clemente adopted put hard limits on cabinet placement, and both are easier to satisfy at the drawing stage than after delivery. San Clemente adopted the 2025 California Residential Code under Municipal Code 15.22, effective January 1, 2026, and the two that come up on real installations are R302.6 with its Table R302.6, which governs the garage separation, and R318.1, which governs egress.
Table R302.6 requires not less than half inch gypsum board or equivalent applied to the garage side of the wall separating the dwelling unit and attics from the garage, and not less than five eighths inch Type X gypsum board or equivalent where the separation is from portions of the dwelling unit above the garage or carport. The installation consequence is that a run screwed through that board into the studs behind it is straightforward, and a run recessed into the depth of that wall removes part of a rated layer. That applies to a utility cabinet in a garage and equally to a laundry run on the house side of the same wall if the fixing detail cuts into it.
R318.1 requires that the means of egress “provide a continuous and unobstructed path of vertical and horizontal egress travel from all portions of the dwelling unit to the required egress door without requiring travel through a garage.” On a fitting day that becomes a simple question about the route: a tall cabinet run that narrows a hallway or a doorway on the egress path is the one piece of otherwise permit-exempt cabinetry that can attract an objection, and a cabinet that has to be removed to satisfy it is the most expensive way to learn the rule.
| Constraint | Source | What it rules out |
|---|---|---|
| Garage separation, from the dwelling and attics | 2025 CRC Table R302.6, 1/2-inch gypsum board to the garage side | Recessing a cabinet into the depth of the separation wall |
| Garage separation, below habitable rooms | 2025 CRC Table R302.6, 5/8-inch Type X gypsum board | The same, with a higher rated layer at stake |
| Egress path | 2025 CRC R318.1, continuous and unobstructed, not through a garage | A run that narrows a hall or doorway on the route to the egress door |
| Electrical panel working space | Working clearance in front of a panel | A cabinet or a door swing occupying the space in front of a panel |
| Water heater access and servicing | Access for servicing and eventual replacement | Enclosing a heater so it cannot be swapped out |
Code section numbers are from the 2025 California Residential Code, the edition adopted by San Clemente Municipal Code 15.22 with effect from January 1, 2026. Panel and water heater clearances are established at survey against the equipment actually present rather than from a published table, because both depend on the specific installation.
None of this makes an installation harder. It makes the survey worth doing properly, which is the argument this whole page makes from a different direction. The three things worth locating before anything is ordered are the separation wall if the run touches a garage, the egress route if the run is in a hall or a lobby, and the panel and heater clearances if the run is in a utility space. All three are five minutes with a tape at the survey and a fortnight of rework afterwards.
What to have ready before the fitter arrives
- The complete delivery on site and accessible, ideally unpacked and checked
- Clear access from the door to the kitchen, and somewhere to stack packaging
- The old cabinets either removed or agreed as part of the scope, at about $300 on published figures
- Appliance specifications available, because openings are cut to the appliance not to the catalogue
- Your plumber and electrician booked, and the sequencing agreed with the fitter
- Extra filler strips and end panels ordered, because out-of-true walls consume more than the catalogue assumes
- The countertop supplier's template-to-fit window established in writing
If the cabinets have not been bought yet, the custom cabinets page covers having them made instead, and the linear foot guide explains how supply and install are counted in a quote. If the existing kitchen is coming out first, the repair page covers the question of whether it has to.